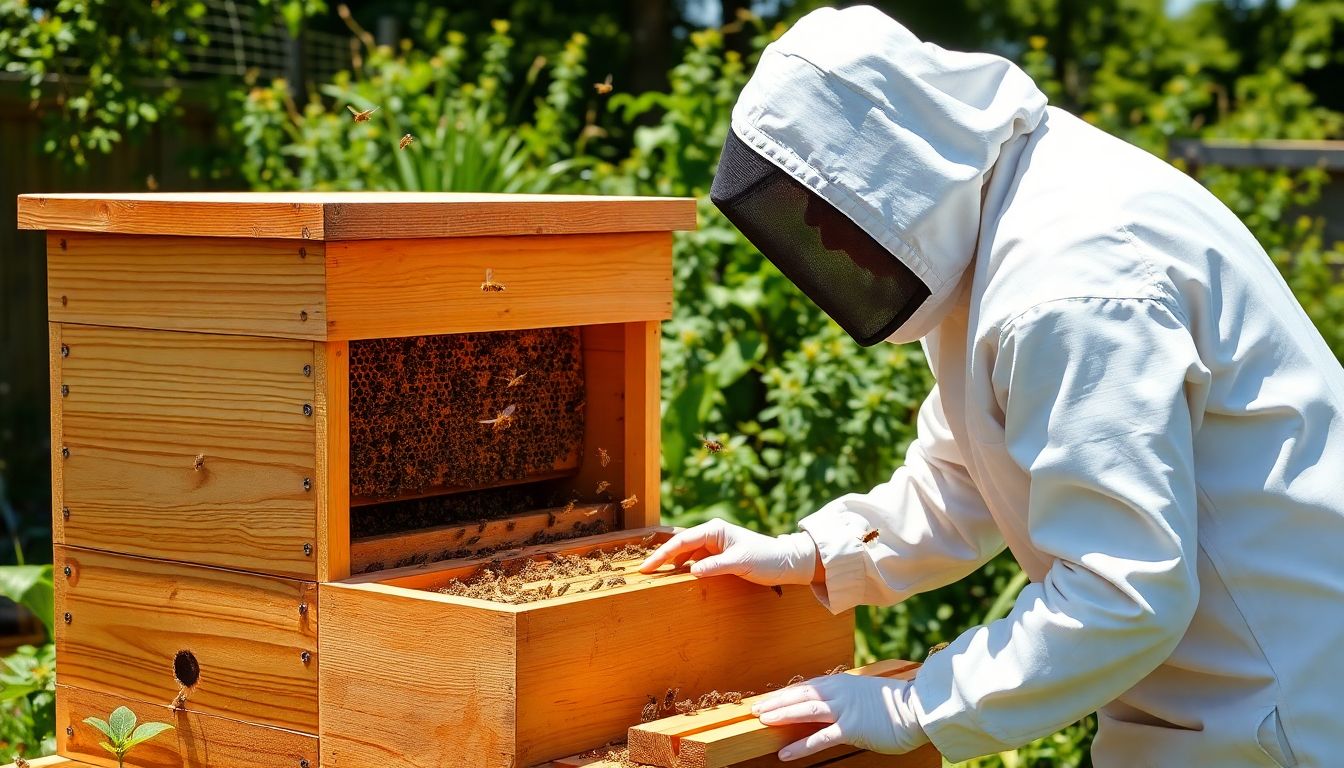
Most people picture beekeeping as some rural, acres-and-overalls hobby. It isn’t. One hive fits in the corner of an ordinary backyard, and the bees do most of the actual work. That gap between the fear and the reality is why beekeeping for beginners trips so many people up: they either talk themselves out of something totally doable, or they jump in expecting a jar of honey by August and quit when the first year humbles them.
Because it will humble you. The people who quit in year one or two almost always hit the same three walls: the cost surprised them, mites killed their colony, or the season didn’t go the way the shiny blog posts promised.
This guide is the honest orientation most beginners wish they had at the start. It won’t walk you through the install click by click (that lives in the step-by-step guide to starting beekeeping). It helps you decide whether this is for you, tells you what it truly costs in 2026, and shows you what a real first year looks like.
Is beekeeping right for you?
Before you spend a dollar, run an honest self-check against four things: time, space, money, and rules.
Time is the one people underestimate. In spring and summer you’ll spend about 30 minutes per hive every 7 to 10 days, opening the colony, checking for a laying queen, and adding room. Miss a few weeks in swarm season and your bees may simply leave. Over winter it drops to almost nothing.
Space is easier than you’d think. A single hive has the footprint of a bar stool, plus a clear flight path out the front so bees aren’t crossing a walkway or your neighbor’s patio. A small yard, a flat rooftop, or a sturdy balcony can all work. Face the entrance toward morning sun, set the hive on a dry, level base, and you’ve covered what matters more than square footage.
Two more checks before you commit. Look up your local rules first, since some cities and HOAs limit hive numbers or require registration. And if you’ve ever had a serious allergic reaction to a sting, talk to a doctor first, because you will get stung eventually.
How a honey bee colony works
A colony is one organism made of three kinds of bees. Understanding them makes every inspection make sense.
The queen is the only fully developed female, and her job is laying eggs, up to around 1,500 a day at peak. There’s usually just one. The workers are the tens of thousands of sterile females who do everything else: foraging, nursing, building comb, guarding, cleaning. The drones are the males, and their one purpose is mating with queens from other colonies.
Numbers help here. A colony you start from a nuc or package holds roughly 10,000 bees, and by mid-summer that same hive can swell to somewhere between 20,000 and 60,000. That growth is why a hive that felt roomy in May runs out of space by July, and why staying ahead of crowding matters so much in your first season.
Carry one habit into your first inspection above all others. When you see eggs and young larvae in the comb, you know you have a working queen, even if you never spot her.
Beekeepers call a colony with a functioning queen “queenright,” and confirming it is the whole point of most early check-ins. Finding those eggs is the proof you need. Spotting the queen herself is a bonus you can skip.
What beekeeping actually costs (2026)
Nobody gives you a straight number, so here it is, itemized for 2026.
- Complete hive: $260 to $275 (boxes, frames, foundation, bottom board, inner and outer covers)
- Bees: $125 to $175 for a package, or $180 to $250 for a nuc
- Protective gear and tools: around $200 (a suit or jacket with veil, smoker, hive tool, gloves)
Add those up and a single hive runs roughly $400 to $800 in the first year, depending on whether you buy a package or a nuc and how much gear you already have. That’s the honest range. Ignore anyone selling you on “start beekeeping for under $150.”
After year one it gets cheaper. Budget $200 to $400 per hive annually for replacement queens, varroa treatment (about $50 to $85), feed, and any permit fees. If you’d rather buy everything bundled, compare the best bee starter kits against buying pieces separately, since a good kit can save money but often skips the suit and the bees.
The gear you actually need
The equipment list looks intimidating in catalogs. Strip it down and the real essentials are short.
- A Langstroth hive (the standard boxes and frames)
- A suit or a jacket with an attached veil
- A smoker, to keep the colony calm
- A hive tool, for prying apart boxes and frames stuck with propolis
- An entrance feeder, for sugar syrup in the early weeks
That’s genuinely it for your first season. Skip the honey extractor, which is the classic beginner overbuy. A first-year colony rarely gives a harvest worth extracting, and when the time comes you can often borrow one from your local club or crush and strain a few frames by hand. For the full breakdown of what’s worth buying and what can wait, see the beekeeping equipment guide.
How to get your first bees
You have three ways to get bees: a package, a nuc, or a caught swarm. For a beginner, the choice mostly comes down to package versus nuc.
A package is roughly 3 pounds of loose bees (around 10,000) plus a separately caged mated queen. It’s cheaper, but the colony starts from nothing and the install is a little more nerve-wracking.
A nuc is a small working colony already on five frames, with a laying queen, brood, and stores. It costs more, but it’s established, forgiving, and gives you a faster, calmer start. For most first-timers, a nuc is worth the extra money.
Two rules matter more than the format. Buy local bees adapted to your climate, and never have bees shipped, because shipped packages too often arrive dead or failing. Order early, in December or January, since good local suppliers sell out by spring.
Ask for a marked queen (a dot of paint on her back) so you can find her fast. Italian and Carniolan bees are both gentle and beginner-friendly. The guide to buying bees and nucs covers sourcing in detail.
Your first year, season by season
No one shows you the actual arc of a first year. Here’s how a real one unfolds, season by season.
The winter before is prep. Read, join a local club, confirm your city’s rules, order your bees in December or January, and assemble your gear so nothing’s rushed in spring.
Spring is install day. You hive your package or nuc, feed 1:1 sugar syrup to help them draw comb, and start inspecting every 7 to 10 days, always confirming eggs and a laying queen.
Early summer is growth. The colony expands fast, so you add boxes ahead of crowding and start watching for swarm signs (queen cells along the frame bottoms). Get ahead of it, because a hive that swarms takes half your bees with it.
Late summer is the honey flow and the critical checkpoint. This is when you monitor varroa mites (more on that next) and decide about honey. A small first-year harvest is optional, and many beekeepers leave it all for the bees.
One heads-up for late summer: honey is heavier than it looks. A full medium super can weigh 35 pounds or more, so lift with your knees and don’t stack more than you can carry off the hive safely.
Autumn is winter prep: treat for mites, feed heavier 2:1 syrup to build stores, and reduce the entrance against robbing and cold.
Winter is the easy part. Leave them be, keep the hive dry, and clear snow from the entrance. Your goal for the whole year isn’t a honey haul. It’s a living colony the following spring. The hive management guide goes deeper on each season.
The one skill that keeps colonies alive: varroa
If you learn one thing this year, learn this. Varroa mites are the number one killer of honey bee colonies, and untreated hives frequently die over winter. The mites feed on bees and spread viruses, and by the time a colony looks visibly sick, it’s usually too late to save. Proactive management beats reacting every single time.
Managing them starts with counting them, and counting is simpler than beginners expect. You’re measuring how many mites ride on a sample of bees. Two beginner-friendly methods do the job.
- Sugar roll: scoop about 300 bees (roughly half a cup) into a jar, dust them with powdered sugar, shake the mites out onto a white surface, and count. The bees survive and go back in.
- Alcohol wash: the same idea using alcohol instead of sugar. It’s more accurate, but it kills the sampled bees.
Do a count several times a season, and never skip the late-summer check, because that’s when mite loads peak, right as the colony raises its winter bees. Once you have a number, you’ll know whether to treat and which product fits the season and temperature. The full monitoring-and-treatment walkthrough lives in the varroa mites guide.
Common beginner mistakes
Most first-year failures trace back to a short list of avoidable mistakes.
- Starting with one hive gives you no comparison and no backup. With two colonies, if one goes queenless you can share a frame of eggs from the other. Cap it at two or three your first year, but don’t start with one.
- Ignoring mites is the mistake that kills the most colonies, which is why it earns a second mention here.
- Inspecting too often sets the bees back. Opening the hive every couple of days stresses the colony, and every 7 to 10 days in season is plenty.
- Harvesting too much in year one takes honey the young colony needs for winter. Leave them their stores.
- Buying shipped bees starts you at a disadvantage. Local, climate-adapted bees survive better and start stronger.
Frequently asked questions
How much does it cost to start beekeeping?
Expect roughly $400 to $800 for one hive in the first year. That splits across the hive itself (about $260 to $275), the bees ($125 for a package up to $250 for a nuc), and protective gear plus tools (around $200). After the first year, ongoing costs drop to about $200 to $400 per hive annually for treatments, feed, and the occasional replacement queen.
Will I get stung?
Occasionally, yes. Every beekeeper gets stung eventually, and it’s a normal part of the hobby rather than a sign you did something wrong. Good gear and slow, calm movements keep it rare, and most stings are just minor swelling that fades in a day. If you’ve ever had a severe allergic reaction, check with a doctor before starting.
How much time does beekeeping take?
Plan on about 30 minutes per hive every 7 to 10 days during spring and summer, when the colony is growing and needs room and monitoring. That’s the busy stretch. In fall the visits taper off, and over winter you do almost nothing beyond keeping the entrance clear and the hive dry. The rhythm is seasonal, with the work packed into a few warm months.
Do I need a big yard?
No. A single hive needs only about the footprint of a bar stool, plus a clear flight path so bees exit away from walkways and neighbors. A small backyard, a flat rooftop, or a sturdy balcony all work fine. What matters more than size is morning sun, a dry level base, and staying within your local rules.
Ready for the actual build? Walk through the install and setup in the step-by-step guide to starting beekeeping, then come back here whenever you need to sanity-check the season ahead.